It was a very satisfying build day today – the engine went in.
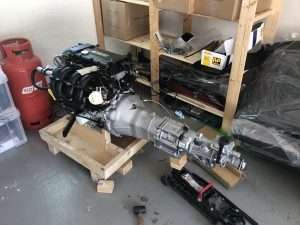
The first thing to do was to remove the bell housing, and then bolt it to the gearbox. The gearbox and bell-housing then fix back onto the engine.
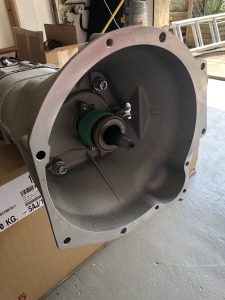
Bell housing removed
Bellhousing attached to the gearbox (with the help of a strong cardboard box)
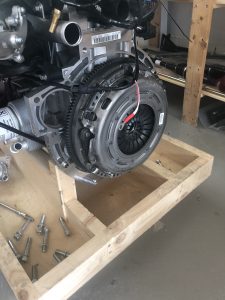
The engine is supplied bolted to a small crate, which means that doing this is fairly straightforward – the jack is there just as a safety measure!
I also invested in a paint pen to mark up the bolts that have been torqued up.
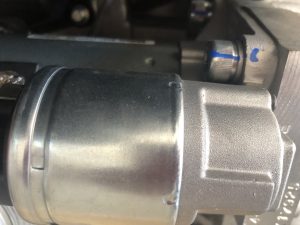
On the 1.6 sigma, one of the bolts for the stater motor is very fiddly – it is right behind the motor – with a few extensions, I managed to torque it up.
Before the engine goes in, I needed to remove the engine mounts from the engine, and also attach the engine rubbers to the chassis. A few blogs I have read suggested that I needed to attach an earth cable to the chassis, which I did.
You don’t need to do this on the 1.6 sigma.
… I then realised that I only had 2 earth leads, not 3. A quick e-mail to Derek confirmed that I don’t need to do this on the 1.6 sigma. The 2 earth cables go from the battery to the chassis and to the bell housing, the 1.6 only needs 2 earth leads, not 3. So off with the blot and the earth lead.
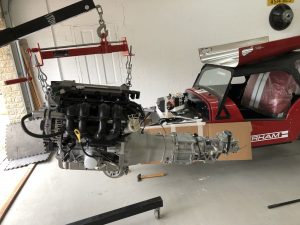
Once the rubbers were in, the lift could commence. I hired an engine hoist, and also bought a load leveller, which definitely made things easier. Many blogs advise removing the alternator, but I decided not to, as I had the leveller.
With the help of my good friend James (https://www.thesleepgeek.co.uk), we slowly lifted the engine and gearbox up, and when we were confident we unbolted it from the crate. It felt very strange to see this large lump of metal in mid-air.
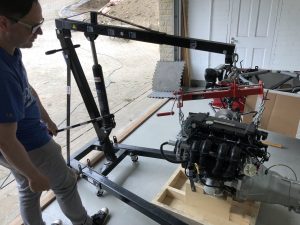
We very slowly moved the engine over, and then the process was a few mm down, a few mm forward – and repeat. We were briefly joined by Eddie and Luke who’s extra hands meant that we could get the engine mostly “in” in about 10 mins.
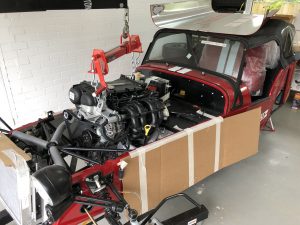
…. the next 3 hours were spent trying to get the engine mounts on, and also the gearbox mount attached. This was very, very fiddly – the key thing I learnt was that patience is key, as is lots of tea!
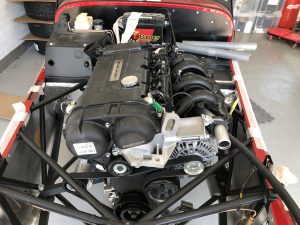
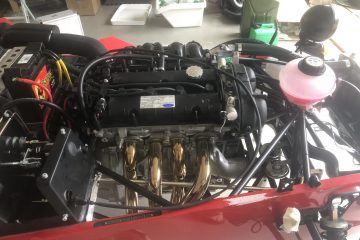
Anyway, with all the bolts in, the engine was fully in — a really good days work!
A huge thanks to James who took much of his day to come over and help – I couldn’t have done it without him, and it was great to work with him.
2 Comments
Ged · 25th June 2018 at 4:10 pm
Just wondering if progress has stalled on the car, or just on the blog?
andrew · 17th July 2018 at 7:54 am
Thanks Ged – progress had stalled (couldn’t miss the opportunity to make the most of the great weather!), but things are moving again now — hopefully finish off the engine plumbing today!